Building Documentation
The following steps utilize the Doxygen GUI Frontend.
Load the Doxyfile from this repo into Doxygen, using the File menu. The Doxyfile is in dhart\src\Doxyfile
Step 3:
- Navigate to the Expert tab on the left hand side.
- Under topics, click 'Input'.
- On the right side, scroll down until you see EXAMPLE_PATH.
- In the EXAMPLE_PATH section, click the folder button to reveal a file prompt.
- Within the file prompt, select the file path where the snippet resides. (
PATH_TO_FILE\filename.cpp) - Add any more directories/paths where your snippets will come from.
Snippets will now appear when you navigate to the Run tab, and click 'Run Doxygen'.
The \code tag should be used for code block examples under 10 lines.
https://www.doxygen.nl/manual/commands.html#cmdcode
Here is an example for using the \code tag:
/*!
*/
Follow these steps to ensure consistency within the codebase: 0. Start an example block with /*!, then hit ENTER to go to the next line.
- Hit TAB once, then use the
\codetag. Then, hit ENTER. - Hit TAB twice, then begin your code example. You may indent as necessary for your example.
- When your example is finished, hit ENTER, then BACKSPACE so that you are inline with the
\codetag. - Use the
\endcodetag to end your example.
Then hit ENTER, then hit BACKSPACE as many times as necessary so that you are inline with/*!. - Finally, end the example block with
*/.
- Note that any comments that occur within the sample must begin with
//, followed by a whitespace.
This procedure strikes the best compromise between:
- Making sure that comments work within a code example
- Not having to remove
//or///per line of the example
This ensures ease of viewing
for anyone reading the source code –
and also assists Doxygen with the
formatting process for the HTML export.
You may now use 'Run Doxygen' to export your documentation.
(There are no extra steps, unlike with the snippet section)
Adding images for headers/sources, and markdown files (.md)
For headers/sources,
we will be using the \image tag to add images.
https://www.doxygen.nl/manual/commands.html#cmdimage
For markdown files (.md),
we will be using the markdown syntax for images.
https://www.doxygen.nl/manual/markdown.html#md_images
In dhart,
we have a subdirectory named docs.
(dhart\docs)
The Doxyfile will already be configured to have it's IMAGE_PATH
configured such that its working directory for images begins at
dhart\docs.
When we proceed to later steps, and we are to insert the path of an image file,
assume that the working directory for images begins at
dhart\docs.
For example, if a file is saved at:
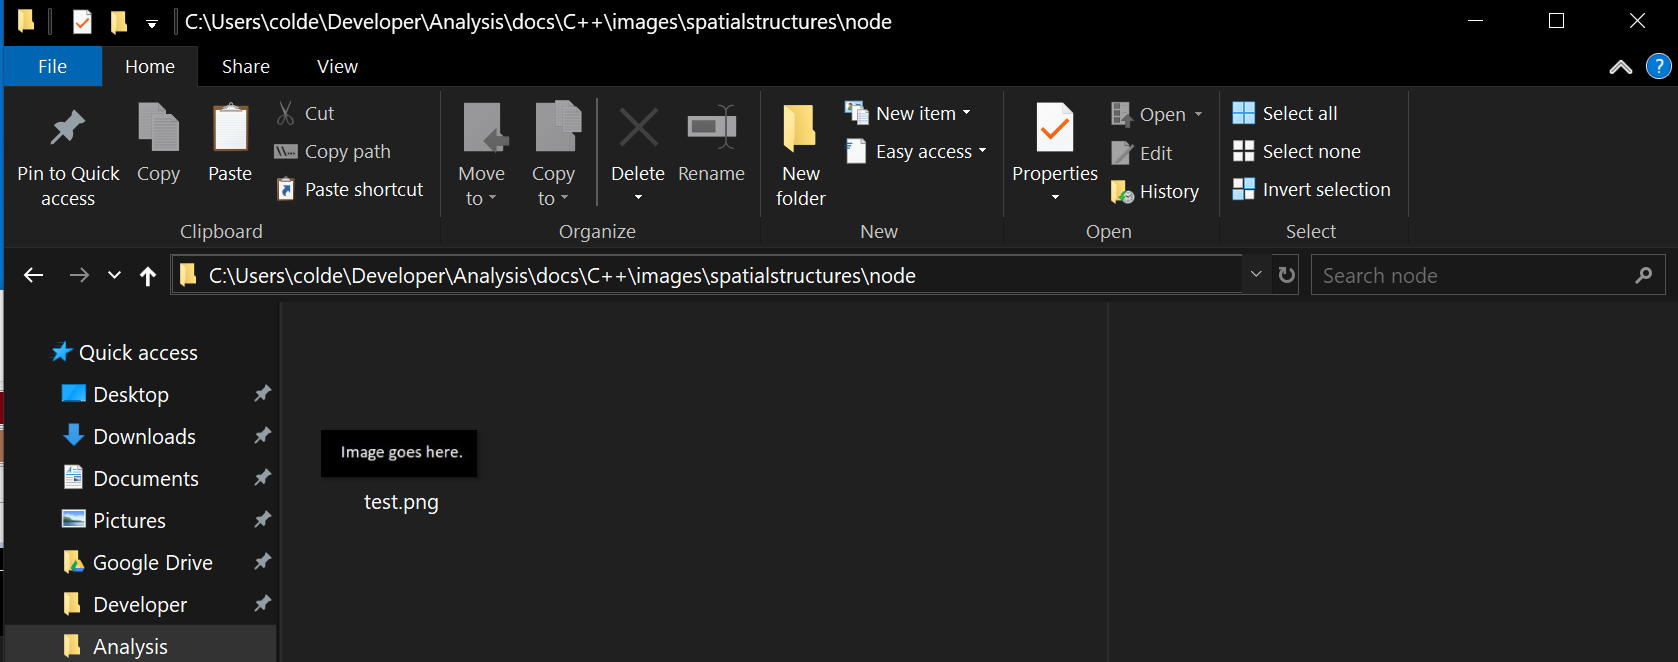
dhart\docs\C++\images\spatialstructures\node\test-image_node-h.png,
you will specify the path:
C++\images\spatialstructures\node\test-image_node-h.png.
Notice that the dhart/docs portion is omitted when specifying the image,
since our Doxyfile will already its IMAGE_PATH configured to begin at dhart/docs.
Step 0:
Begin by saving copy of image_file,
which is the filename of the desired image,
into the following directory:
dhart\docs\language\img\enclosing_folder\module_name
<b>language</b>,
<b>enclosing_folder</b>,
and <b>module_name</b> are placeholders.
images will be a subdirectory within <b>language</b>.
Note:
In the dhart/docs directory,
there are three subdirectories:
for which the <b>language</b> placeholder applies:
- C# Documentation
- C++
- Python Docs
 The contributing-guides subdirectory is for the images in this file.
For <b>language</b>,
be sure to choose the appropriate subdirectory
when saving your image file.
Although this particular example deals with inserting an image
into documentation for a C++ header file,
the same steps will apply for C# or Python sources.
For instance, the full filepath of node.h is
<b>dhart\src\Cpp\spatialstructures\src\node.h</b>
<b>language</b> is C++
<b>enclosing_folder</b> is spatialstructures
<b>module_name</b> is node
So, if we wanted to insert an image for any documentation
for node.h or node.cpp,
the image would be saved into the following directory:
<b>dhart\docs\C++\images\spatialstructures\node</b>
If directories <b>img</b>, <b>enclosing_folder</b>,
or <b>module_name</b>
do not already exist, you may create them.
We can now proceed to editing the file where we want to insert the desired image.
This could be a header/source file (step 1a), or a markdown file (step 1b).
Scroll down to the instructions that apply to your use case.
Adding an image to a header/source file
Step 1a:
In the header/source file where you want the image to appear,
navigate to the line of code where you want the image to appear.
We will now utilize the \image tag.
At the line where you want the image to appear,
enter the following:
Remember this example is using placeholders;
be sure that language, enclosing_folder, module_name,
and image_file correspond to where your image is saved.
Also note that images is a subdirectory within your chosen language directory.
An example use of the \image tag would be:
/// \image html C++\images\spatialstructures\node\test-image_node-h.png

See line 42 - example use of the \image tag.
We will now move on to the Doxygen GUI frontend (Doxywizard) application.
Adding an image to a markdown file (.md)
Step 1b:
In the markdown file where you want the image to appear,
navigate to the line at which the image should be inserted.
We will now utilize the markdown syntax for images.
At the line where you want the image to appear,
enter the following:
Remember this example is using placeholders;
be sure that language, enclosing_folder, module_name,
and image_file correspond to where your image is saved.
An example use of the syntax would be:
<b>language</b> is C++
<b>enclosing_folder</b> is spatialstructures
<b>module_name</b> is node
<b>image_file</b> is test.png
 This particular example is of mainpage.md, in dhart/src/Cpp
We will now move on to the Doxygen GUI frontend (Doxywizard) application.
Step 2:
Open Doxywizard.

In Doxygen GUI frontend (Doxywizard) – load the repository's Doxyfile.
Click File > Open...
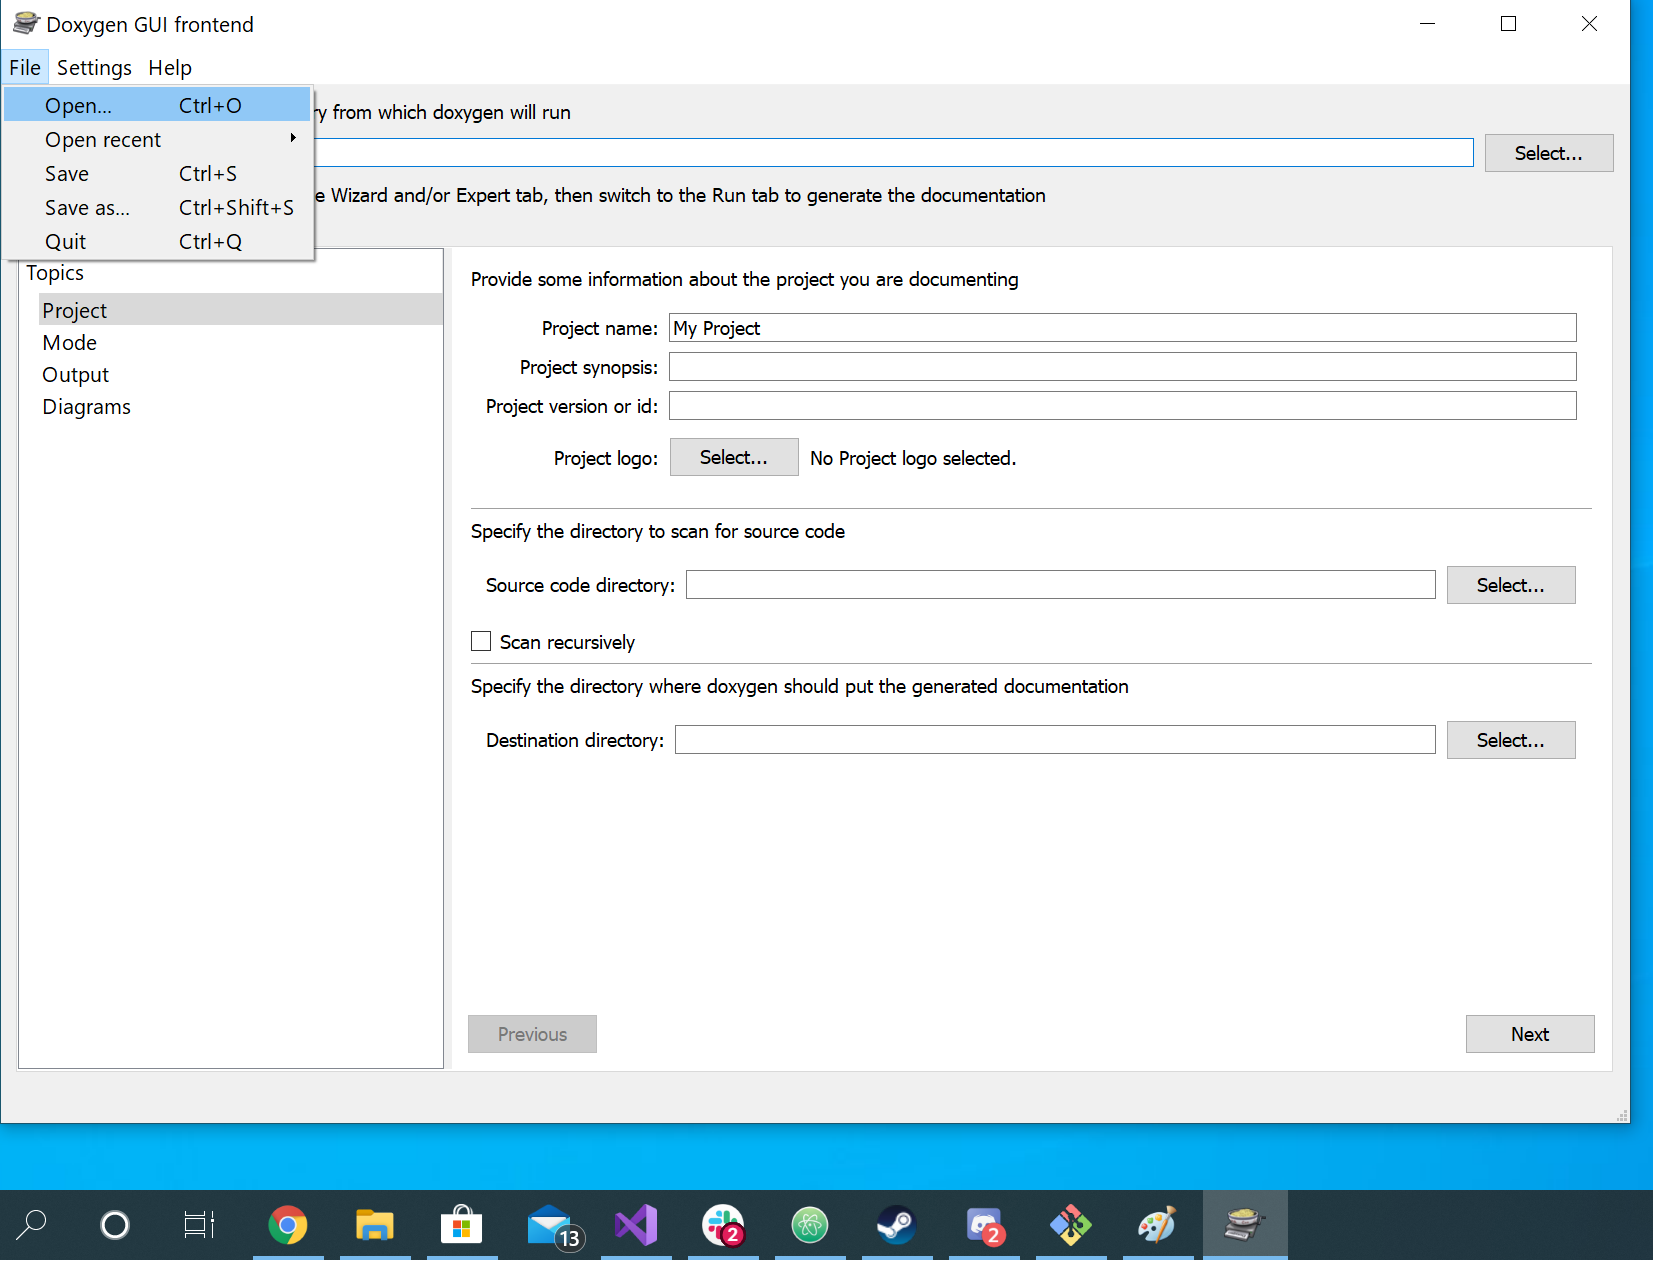
The 'Open configuration file' file explorer will appear.
Navigate to your local copy of the repository,
then click the Doxyfile icon.
 Your path to the repository will differ, depending where it resides locally on your machine.
Upon loading the Doxyfile, it will be preconfigured for C++.
Doxygen's working directory will be the location of the Doxyfile, which is the root directory of the repository.
The Source code directory will be configured for ./src/Cpp
and the Destination directory will be configured for ./docs/C++.
 This is how the 'Wizard' page for Doxywizard may look for a C++ documentation export.
 Change the highlighted portion to Csharp for C# sources, or Python for Python sources.
 Change the highlighed portion to C# Documentation for C# exports, or Python for Python exports.
Suggestion:
Before exporting documentation and pushing it to the repository,
change the Destination directory to a test directory of your choice
(relative to your local copy of dhart on your machine)
To do this,
create a directory on your Desktop, named test_docs.
Then, for Destination directory,
you will want to provide a relative path to test_docs,
from Doxywizard's working directory.
(this will differ, depending on where your copy of dhart resides on your machine)
 For this example, the destination directory is set to move up two parent directories, so that it can reach Desktop/test_docs.
Step 3:
The Doxyfile will be preconfigured to search for images from
dhart\docs, via the IMAGE_PATH variable.
The current IMAGE_PATH value, ./docs should not be removed,
but you may add to it by doing the following:
Click the Expert tab.

Underneath Topics (on the left hand side of the window),
select Input,
then on the right side,
scroll down until you see the text field for IMAGE_PATH.
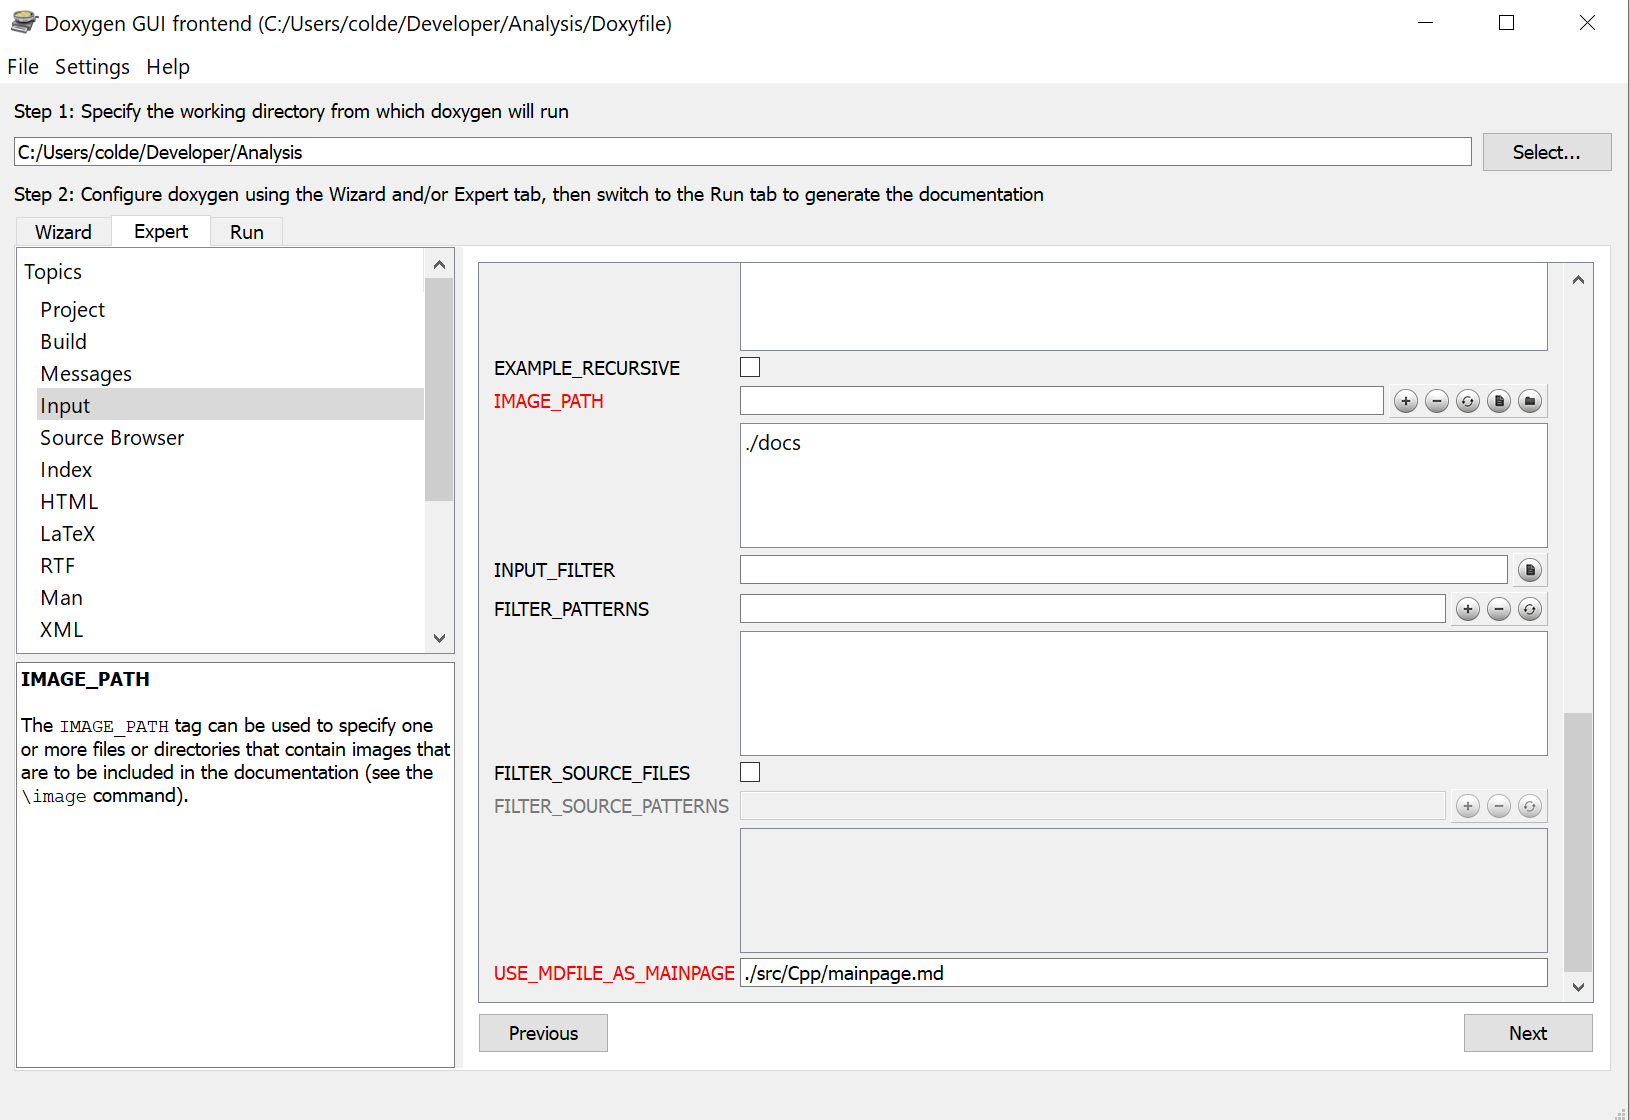
Click the folder icon for IMAGE_PATH.

In the file explorer window that appears,
navigate to a directory of your choice..
Then, click Select Folder.
 You can add to the IMAGE_PATH by selecting any directory of your choice.
The result will be a filepath relative to Doxygen's working directory.
We have now configured another image path for Doxygen.
 When Doxygen inserts images into documentation, it will begin its search in the dhart/docs directory.
If you have added another path to IMAGE_PATH (not shown here), it will also search this path.
Step 4:
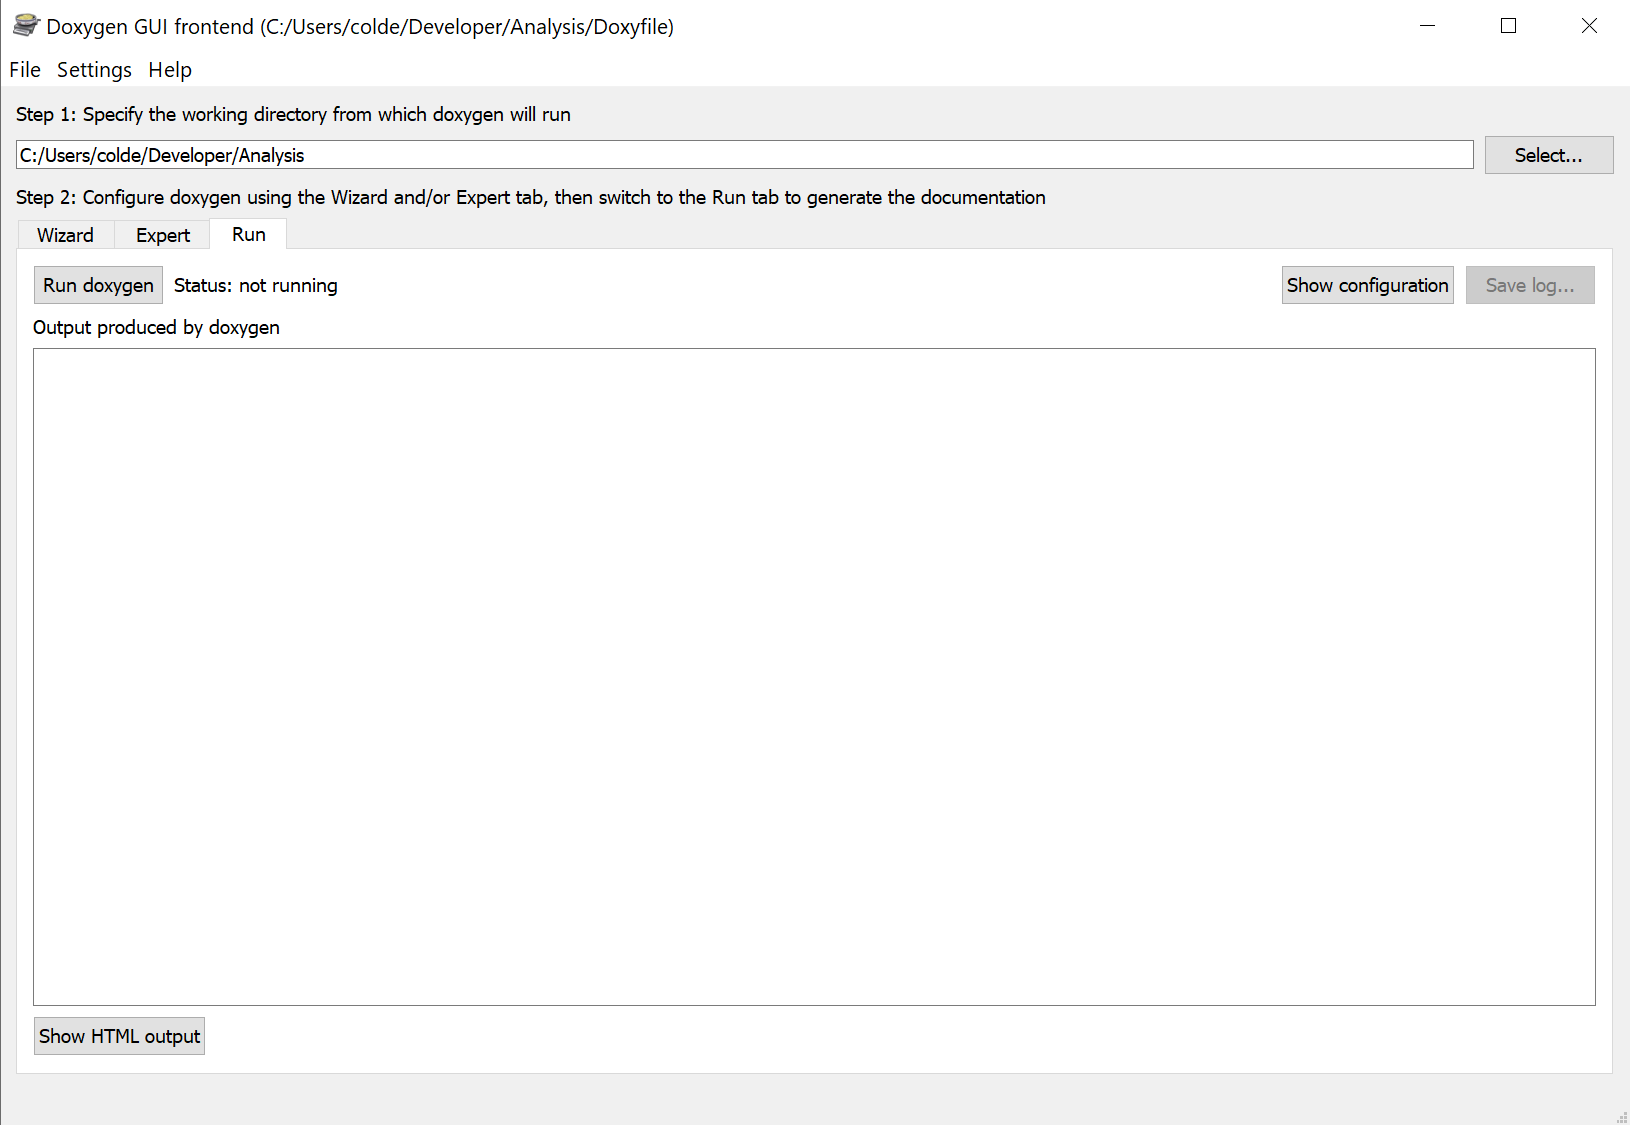
If there is nothing else you would like to configure,
select the Run tab, then click Run doxygen.
Your documentation will now be generated.

Here are some examples for inserting an image into node.h,
and mainpage.md.

\image tag was used within node.h.
 Markdown syntax for images was used for
 mainpage.md.